The Yamaha MODX series—encompassing the MODX6, MODX7, and MODX8—has redefined the boundaries of performance synthesis, offering a streamlined interface that belies its deep FM-X and AWM2 sound engines.
The Yamaha MODX series—encompassing the MODX6, MODX7, and MODX8—has redefined the boundaries of performance synthesis, offering a streamlined interface that belies its deep FM-X and AWM2 sound engines. However, the physical interface, specifically the LCD display with its integrated touch screen digitizer (part number ZX938901), is the critical nexus between the musician and the machine. Over time, wear, accidental impact, or static discharge can compromise this delicate component, leading to unresponsive touch zones, ghost inputs, or a completely dead screen. Replacing this specific assembly is not merely a cosmetic fix; it is a vital restoration of the instrument’s core functionality. This article provides an in-depth analysis of the ZX938901 LCD and digitizer replacement, covering identification, technical specifications, installation best practices, and the long-term implications for your MODX workstation.
The Critical Role of the ZX938901 Digitizer Assembly
Understanding why the ZX938901 is a specific, non-negotiable part requires a look at the MODX architecture. Unlike a standard computer monitor, the MODX display is a combined unit where the LCD (Liquid Crystal Display) panel and the touch-sensitive digitizer are fused together. The digitizer is the transparent layer that registers your finger taps, swipes, and multi-touch gestures to navigate complex menus, adjust parameters on the fly, and control the Super Knob. When this digitizer fails, the screen may still light up, but the instrument becomes effectively unplayable for anything beyond basic patch recall via physical buttons. The ZX938901 is engineered to match the exact optical clarity, capacitive sensitivity, and physical dimensions of the Yamaha factory assembly. Using a generic or incorrect part can lead to poor touch calibration, air gaps between the layers, and even electrical incompatibility that could damage the mainboard. This specific assembly ensures that the resistive or capacitive properties (depending on the revision) are precisely aligned with the MODX’s firmware drivers.
Identifying Failure Modes and Pre-Installation Diagnostics
Before sourcing a replacement, accurate diagnosis is essential. The symptoms of a failing ZX938901 fall into three distinct categories. First, touch digitizer failure: the screen displays correctly, but touches are not registered, are registered in the wrong location, or are erratic. This is the most common fault and is often caused by a cracked digitizer glass from transport or pressure. Second, LCD failure: the screen is dark, shows lines, or has dead pixels, while the digitizer still registers touches (you may hear menu navigation sounds). Third, combined failure, often due to a severe impact. A simple diagnostic test is to boot the MODX and observe the startup sequence. If the Yamaha logo appears without distortion, the LCD is likely intact. Then, try to enter Utility mode. If the screen responds to touch, the digitizer is functional. A crucial pre-installation step is to verify the cable number and revision printed on the ribbon cable of the failed unit. Some early MODX units may have a slightly different revision. Cross-referencing this with the new ZX938901 part is a non-negotiable step to avoid a second disassembly. Using a multimeter to check for continuity on the digitizer's ribbon cables can also reveal a break internal to the assembly that is invisible to the naked eye.
Step-by-Step Installation and Calibration Best Practices
Replacing the ZX938901 is an intermediate-level repair that demands patience and a clean workspace. The process begins with removing the rear panel and disconnecting the battery (if internal) and the main power supply. The MODX’s chassis is modular: the top assembly must be unseated, allowing access to the display bracket. The most delicate step involves disconnecting the two zero-force insertion (ZIF) connectors from the mainboard—one for the LCD video and one for the digitizer data. These ribbon cables are extremely fragile. Never pull on the cable body; use a plastic spudger to gently lift the locking flap and then withdraw the cable. Once the old assembly is removed, carefully peel the adhesive backing from the new ZX938901. Align it squarely within the metal bezel before pressing down. A slight misalignment can cause edge pressure that leads to LCD bleeding or a cracked digitizer on reassembly. After securing the new assembly, reconnect the ZIF connectors. The final critical step is touch calibration. Upon first boot, the MODX may require a recalibration. This is usually accessed via the hidden diagnostic mode (hold down a specific key combination during power-on, often Track 1 and Track 2). A guided crosshair pattern will appear. Tap precisely at the center of each target. If the calibration is skipped or performed poorly, the touch mapping will be offset, making all slider controls and sub-menus unusable.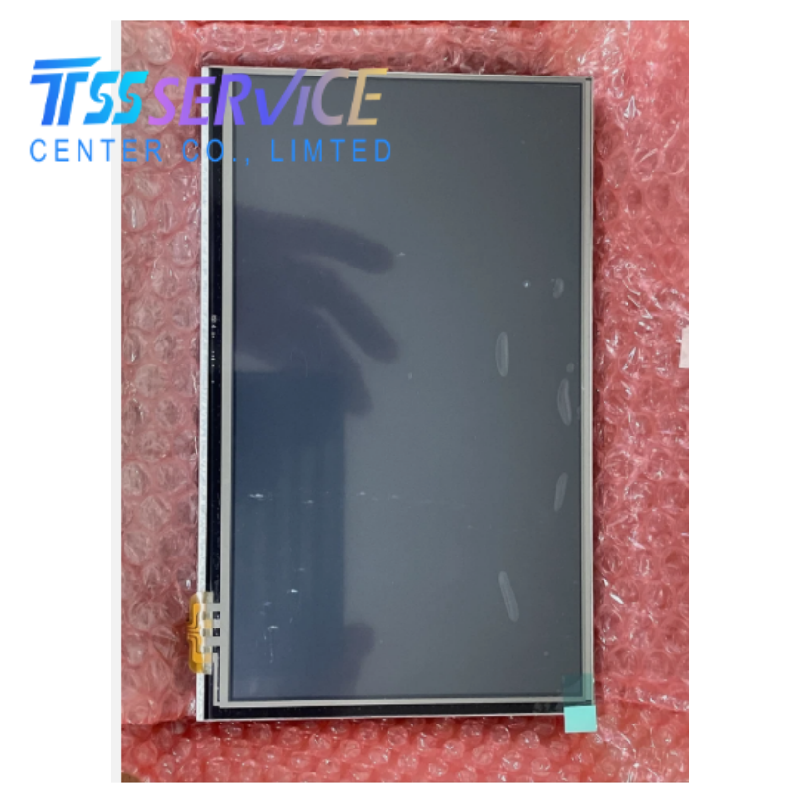
Longevity, Alternatives, and Firmware Considerations
Once replaced, maximizing the lifespan of your new ZX938901 involves simple but effective habits. The digitizer is sensitive to sharp objects—never use a stylus with a metal tip, and avoid storing the MODX in a case where keys or cables can press against the screen. A high-quality, anti-glare screen protector is highly recommended; it adds a sacrificial layer that absorbs scratches and minor impacts. A crucial technical note relates to Yamaha firmware updates. After replacing the display, always ensure your MODX is running the latest firmware. Yamaha has occasionally released updates that optimize touch response timing and calibration algorithms for the digitizer. Checking the global settings for "Touch Sensitivity" and setting it to "Normal" or "Light" (depending on your playing style) can prevent premature wear on the new digitizer. For those considering alternatives, genuine Yamaha parts are strongly advised. While third-party "compatible" assemblies exist, they often lack the specific anti-reflective coating and precise touch panel resolution of the OEM ZX938901. The risk of a poor fit or reduced touch accuracy is high. Investing in the OEM part ensures that the MODX’s user interface remains as responsive as the day it was built, protecting your investment in the instrument for years to come.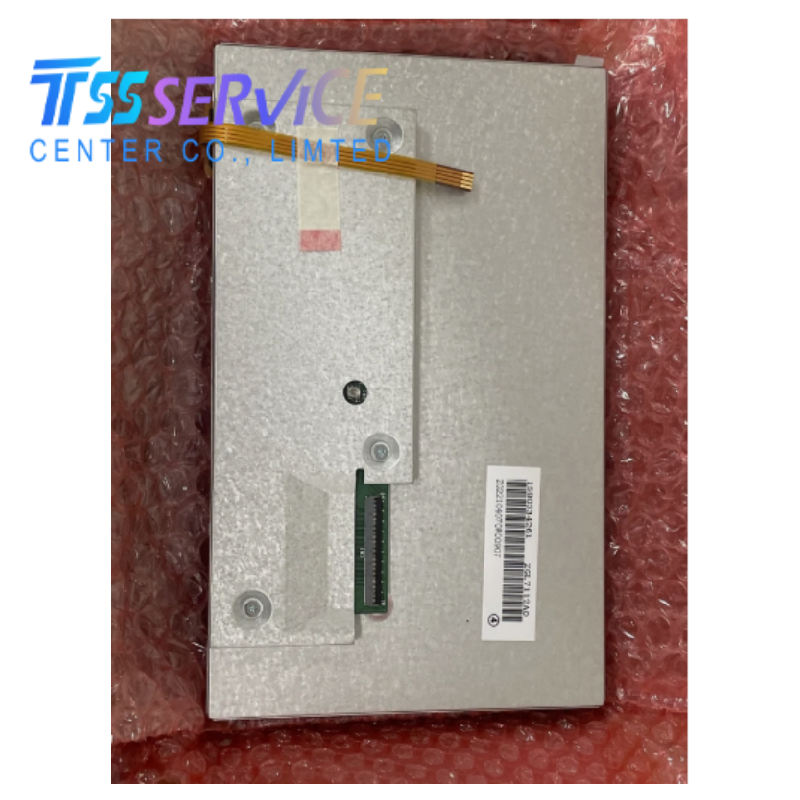
Conclusion The Yamaha ZX938901 LCD and touch screen digitizer assembly is not a simple generic component; it is the operating system of your tactile interaction with the MODX, MODX6, MODX7, or MODX8. A successful replacement hinges on accurate diagnosis, careful handling of delicate ribbon cables, and meticulous calibration. By understanding the specific failure modes and prioritizing an OEM part, you restore the instrument’s full interactive potential—from precise Super Knob sweeps to deep menu navigation. This repair is a direct investment in workflow continuity, ensuring that the powerful synthesis engine remains under your fingertip control for the life of the keyboard.


